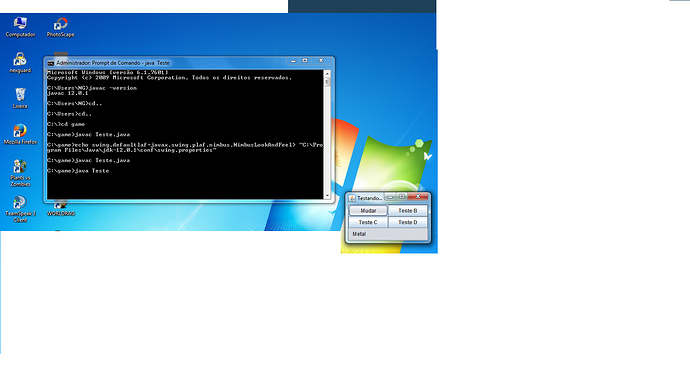
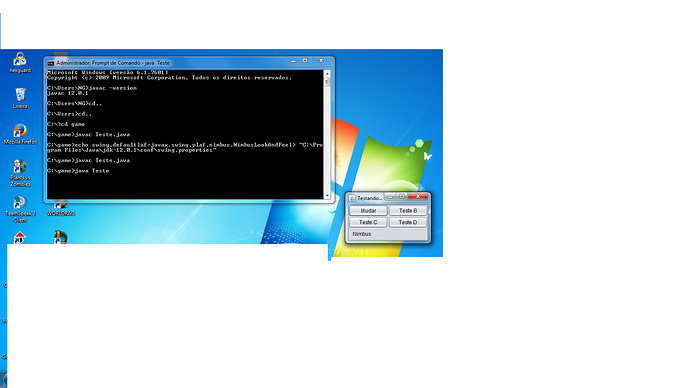
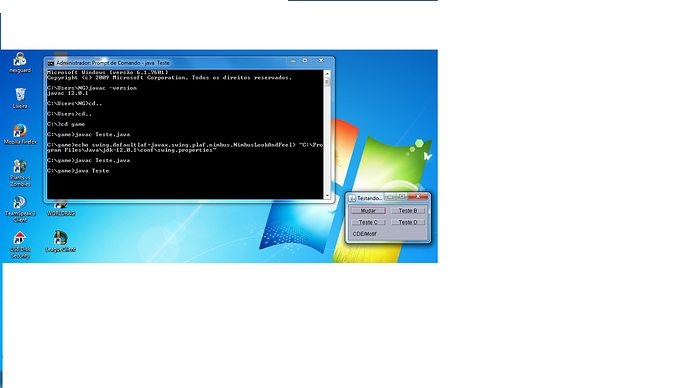
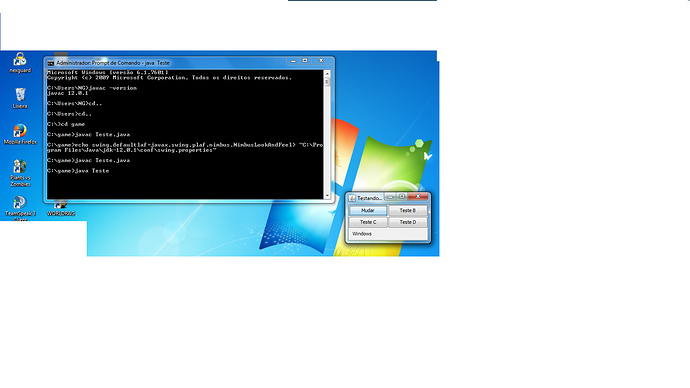
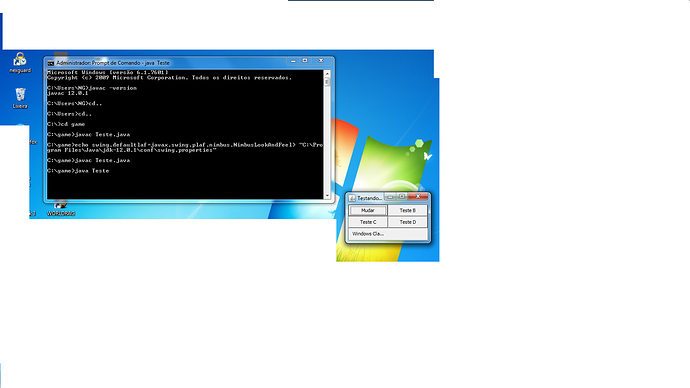
Fico feliz que tenha conseguido.
O @staroski já mostrou, confere novamente a resposta dele aqui.
É usando esse método: UIManager.setLookAndFeel().
Eu fiz o exemplo abaixo onde eu adicionei o botão “Mudar”, execute o exemplo e clique neste botão para alterar ir alterando o LookAndFeel. Os outros botões estão ali apenas de enfeite mesmo.
import java.awt.Dimension;
import java.awt.GridLayout;
import javax.swing.UIManager;
import javax.swing.UnsupportedLookAndFeelException;
import javax.swing.UIManager.LookAndFeelInfo;
import javax.swing.JFrame;
import javax.swing.JLabel;
import javax.swing.SwingUtilities;
import javax.swing.BorderFactory;
import javax.swing.JButton;

class Teste {
    static int count = 0;

    public static void main(String... args) throws Exception {
        JFrame jframe = new JFrame("Testando LookAndFeels");
        LookAndFeelInfo[] looks = UIManager.getInstalledLookAndFeels();
        JButton button = new JButton("Mudar");
        JLabel label = new JLabel(looks[count].getName());

        label.setBorder(BorderFactory.createEmptyBorder(10, 10, 10, 10));

        UIManager.setLookAndFeel(looks[count].getClassName());

        button.addActionListener(e -> {
            try {
                count = ++count < looks.length ? count : 0;
                label.setText(looks[count].getName());
                UIManager.setLookAndFeel(looks[count].getClassName());
                SwingUtilities.updateComponentTreeUI(jframe);
                jframe.pack();
            } catch (Exception exc) {
                System.out.println(exc.getMessage());
            }
        });

        jframe.setDefaultCloseOperation(JFrame.EXIT_ON_CLOSE);
        jframe.setLayout(new GridLayout(3, 2));
        jframe.add(button);
        jframe.add(new JButton("Teste B"));
        jframe.add(new JButton("Teste C"));
        jframe.add(new JButton("Teste D"));
        jframe.add(label);
        jframe.setPreferredSize(new Dimension(200, 120));
        jframe.setLocationRelativeTo(null);
        jframe.pack();
        jframe.setVisible(true);
    }
}
